Image

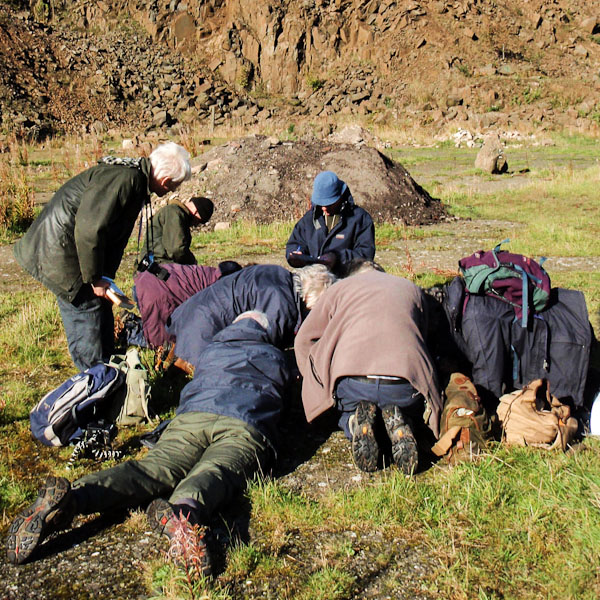
Fieldwork - BLS at Brada October 2008, Sandy Coppins
At the outset it is a good idea to link up with a more experienced lichenologist (see the Local Contacts under ‘Contact us’). Alternatively, there is no better place to mingle with other lichenologists than at the Society’s Field Meetings or on Field Studies Council courses. Further help is available from these identification books and guides
When starting, there are four steps in getting to know a lichen:
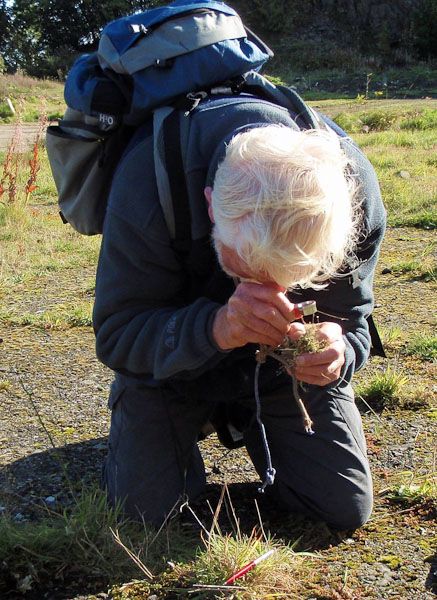
- look at it in-situ using the naked eye and then in detail through your lens to get an idea of its range of variability;
- ask an experienced lichenologist what it is and what its salient features are. You can easily overload yourself with answers at this stage, so pace yourself...
- check it out in the book or guide of your choice, perhaps pencilling in special notes to remind you of key features;
- decide whether you really need to take a sample for closer examination – it is important to be selective, since you can rapidly collect more samples than you will have time to study later.
Field work safety
When out looking at lichens the Country Code must always be followed, and the safety of yourself and others must take priority over getting to that rare lichen! It is easy to forget this and take risks, but these simple rules of fieldwork will go a long way towards keeping you safe:
- If alone, always tell someone where you are going and when you be back. Make sure they know what to do if you do not return on time.
- Carry a fully-charged mobile phone.
- Carry a good map. Don’t rely on GPS and your smart phone, it may not work in the hills and even if it does it won’t be enough to get you back safely in the dark or bad weather.
- Don’t take risks such as climbing cliffs and trees unless you have the necessary equipment and experience. If you are with others, make sure you don’t cause stones etc to fall on them.
- Always wear the correct safety equipment for the conditions
- Carry a small first-aid kit to deal with minor injuries.
Equipment

Essential equipment for lichen fieldwork includes:
- A hand lens, x8 or x10 magnification is best (a x15 or x20 may also be useful for inspecting small features)
- Small dropper bottles containing solutions of bleach (C ) and potassium hydroxide (K) for chemical spot tests - see our chemical tests page for more information;
- A stout knife for taking specimens (Download BLS Guidance on carrying knives)
- Paper packets in which to place specimens (damp specimens in polythene bags quickly go mouldy) - see our collecting specimens page for more information.
- A handheld GPS (in Britain set to OSGB) for grid references
- Digital camera
Depending on the habitat and the species you are interested in you may also need:
- A hammer (preferably a geological hammer or at least one with a flat head) and cold chisel, also protective glasses or goggles, and gloves
- A ruler with half millimetre divisions
- Sellotape for collecting apothecia where a specimen cannot be taken (eg. gravestones)
- Water-based glue for strengthening specimens on soil
- Secateurs for cutting twigs